Ironing Board Cover Replacement
May 3rd 2017
The poor thing...
Let's face it folks, I don't sew gently. I'm more of a WWF of sewing aficionado.
It was time to knuckle down and replace the abused ironing board cover.
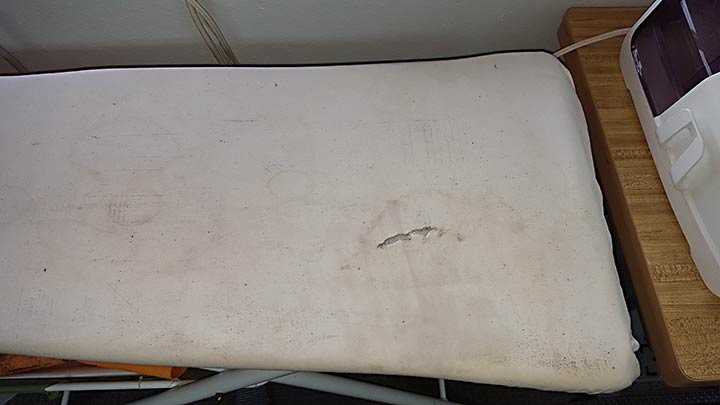
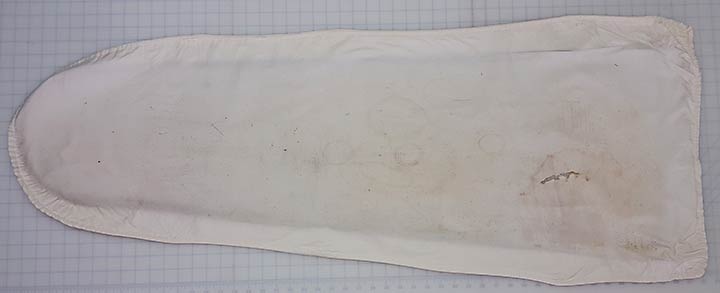
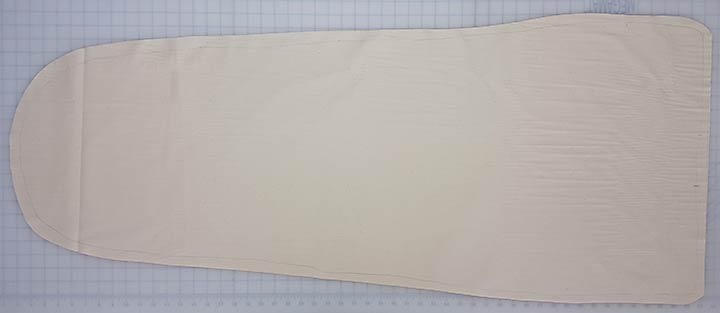
I removed the muslin cover I had previously made. Yes, I make my own, because I LOVE muslin as a base, and when they get worn out, it’s an easy fix.
I flattened the cover out as best I could.
Placed it on top of a double thickness of NEW muslin, and traced around the edges. Check out my sweet glass pattern weights! :)
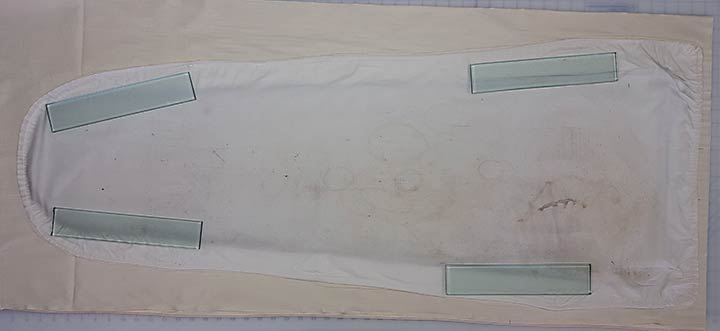
Roughly trimmed the muslin, leaving a "kinda-sorta" seam allowance.
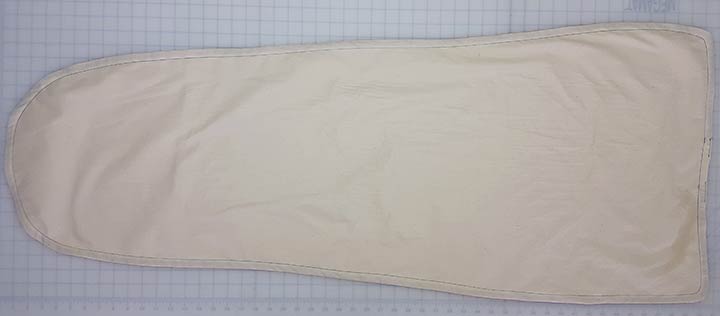
Stitched around all the edges, leaving an opening at the straight end. Serged the edges too, for added stability.
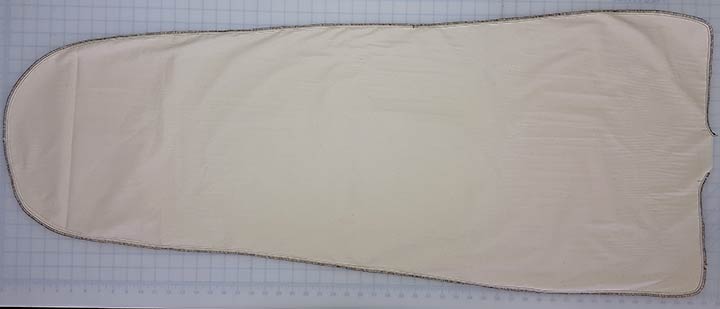
Turned to the right side, eased out the corners and curves, and top-stitched a HALF inch away from the outside edge to form a casing.
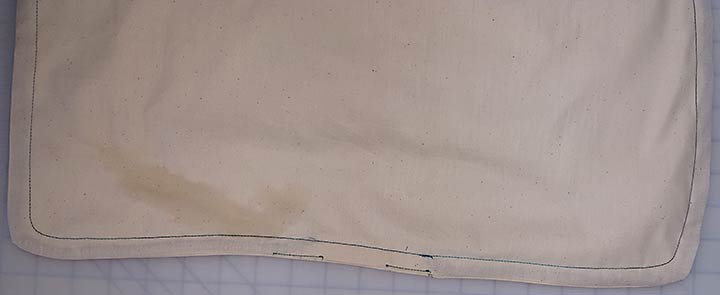
Reinforced the opening. I'm going to be tugging that cover around my board pretty tight, so I don't want things ripping out.
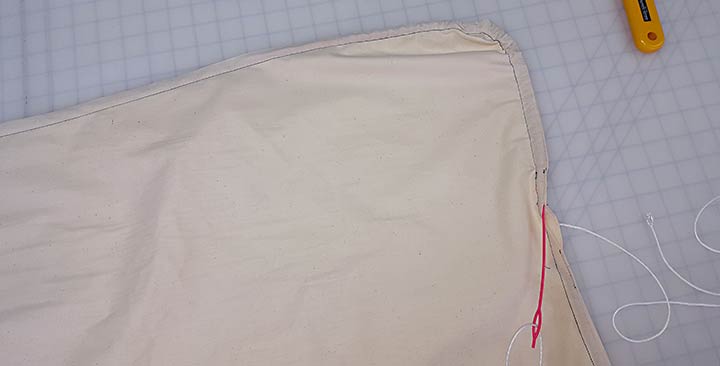
Used my easy threader to draw the cording through the casing. These are the BEST tool anytime you need to put something thru a casing, cords, elastic, filler, etc.
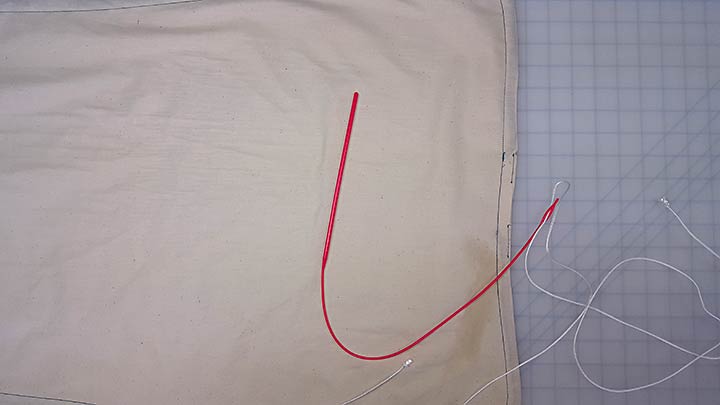
The flexible easy threader can make that sharp corner with ease (ha.. punny!), and makes short work of that long distance all the way around the new cover.
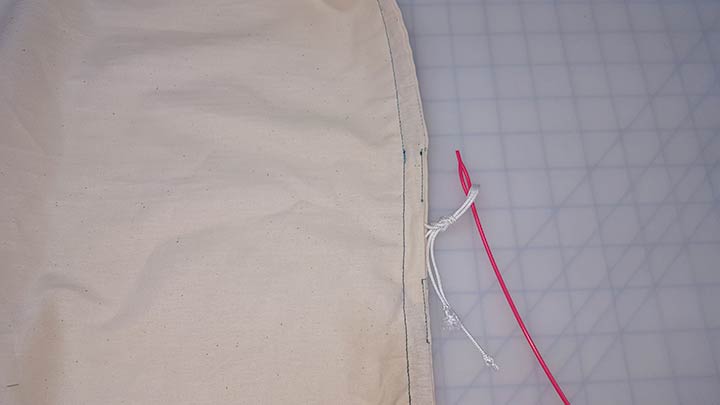
After my cord is all the way through, I softly tie the ends together. I'm going to snug this around the ironing board and I do NOT want to pull the cord out accidentally. (ask me how I know....) :(
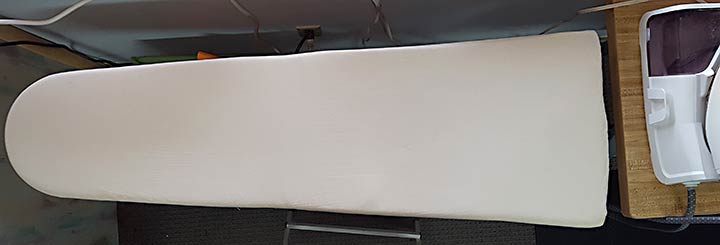
Fresh new cover, pulled snug and ready for sewing mania!